THE JOURNAL

By Mr Howard Whelan, leader of Aurora Expeditions and avalanche survivor .
One morning in October 2013, hundreds of trekkers set off into Nepal’s magnificent Annapurna region in the Himalayas, sucking thin air as they slowly climbed over Thorong La – at 5,416 metres, the highest pass on the popular Annapurna Circuit. Few had any idea that the tail end of Cyclone Hudhud was sweeping up from the Bay of Bengal full of moisture and fury. By late afternoon it was blinding trekkers in ground blizzards and loading slopes with lethal amounts of heavy snow. By the time the weather settled, more than 400 people required rescue and these were the lucky ones. At least 39 died of exposure and avalanche, including climbers sheltering in tents at base camps.
Growing up in Utah’s Wasatch Mountains, where avalanche training and back-country search-and-rescue techniques were part of the daily drill, I thought I knew a bit about avalanches (mentored by the best of Alta’s pro patrol and US Forest Service, I learnt to dig pits that revealed snowpack history, tossed bombs into avalanche trigger zones and spent many frozen hours probing for victims). And then I experienced my first post-monsoon, Himalayan monster. Returning from carrying loads of food, tents and film gear to Camp 1 on Mt Everest’s central Rongbuk Glacier, my friend Mr Greg Mortimer and I watched (gobsmacked) as a fracture line zippered across the North Face from the West Ridge to the Great Couloir. It heralded an avalanche that fell nearly 3,000 metres and hit the northern cwm like a strip-mine explosion. Even at 8km away, we were blasted by ice-crystals. It was unsettling.
Over this next year, more than 150 people will die by avalanche (about 75% asphyxia, 25% trauma). Rather than Himalayan trekkers and climbers, most will be skiers, snowboarders and snowmobilers in their twenties spearing off into the back country in search of those poetic first tracks in virgin snow. But the question is – is it worth the risk? The answer is – absolutely. Check out the faces (and heart rates) of friends who’ve just laid their best-ever tracks. Avalanche data-gathering and forecasting, effective training programmes and hi-tech location and retrieval strategies increase your odds of survival, but the best way to survive, in my opinion, is avoidance – don’t get caught. Here’s how…
1. Become a snow nerd

If you are planning a snowy adventure, prepare yourself. Research the best avalanche safety course (google “avalanche safety training” and your location) and attend. Learn what conditions cause avalanches, such as heavy snowfall, high winds, unstable snow layers, fast-warming temperatures and moderate to steep slopes; how to recognise potential avalanche zones; how to choose the path of least risk; and know what to do if you or your companions are caught in a slide. Most fatal avalanches that cause accidents are triggered by the victim or someone in the victim’s party.
2. Chase local knowledge

Two major factors create avalanche conditions: snowpack and weather. The more you know about both, the greater your chances of survival. First peruse websites such as avalanche.org (North America) or avalanches.org (Europe) for existing and forecast conditions in your target mountains. Then contact, via email or phone, a back-country guide service or ski patrol for specific danger areas along your planned route. Then heed their advice. Find out who best to tell of your plans, and alert a friend or family member of your route and time away. Don’t forget to contact them when you’re back safely.
3. All the gear gives some idea
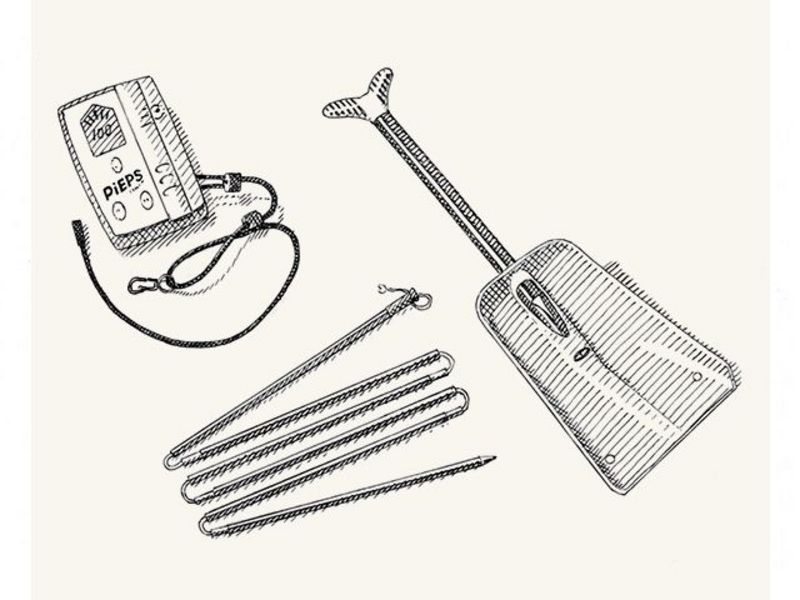
Your training (see Step 1) introduces you to three essential bits of gear including an avalanche beacon, a collapsible probe pole and a lightweight shovel. Top beacon brands include Pieps by Black Diamond, Mammut, Ortovox and Arva. What’s best for you depends on the activity and your wallet. (Learn more from Outdoor Gear Lab.) These items can either be purchased online or at your local specialty outdoors shop. Remember to test your beacon and set it to “transmit” before starting. Keep it in a strong inside pocket that won’t get torn off should you get caught in a slide. Turn your mobile off when your beacon is on, as it could interfere with the signal.
4. Rescuing a companion
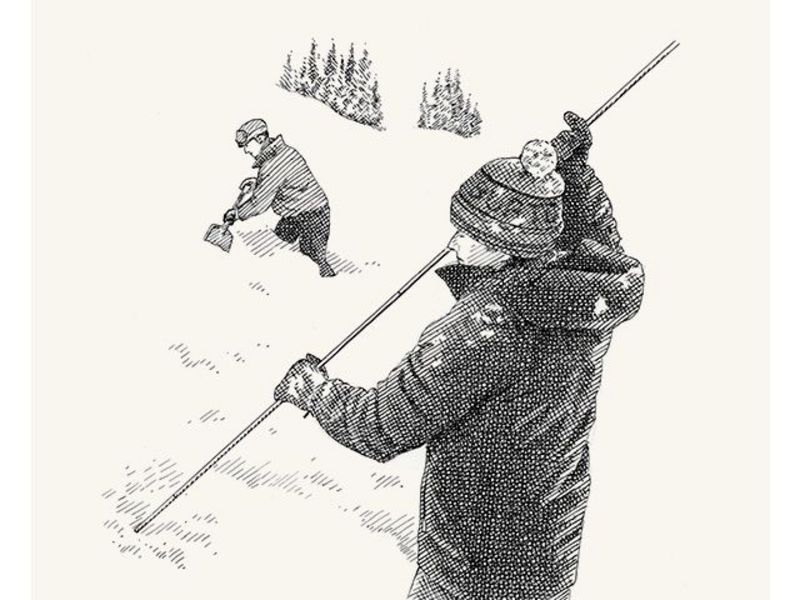
When attempting to locate a buried companion, carefully assess the conditions around and above you for danger. Once this has been completed and you begin your rescue mission, switch your beacon to “receive” and make a broad sweep of where you think they might be. Look for clues such as pieces of equipment or exposed limbs and get within three metres, try to pinpoint the victim, probe with your pole to confirm location, and then dig carefully and be prepared to administer first aid.
5. When the levee breaks
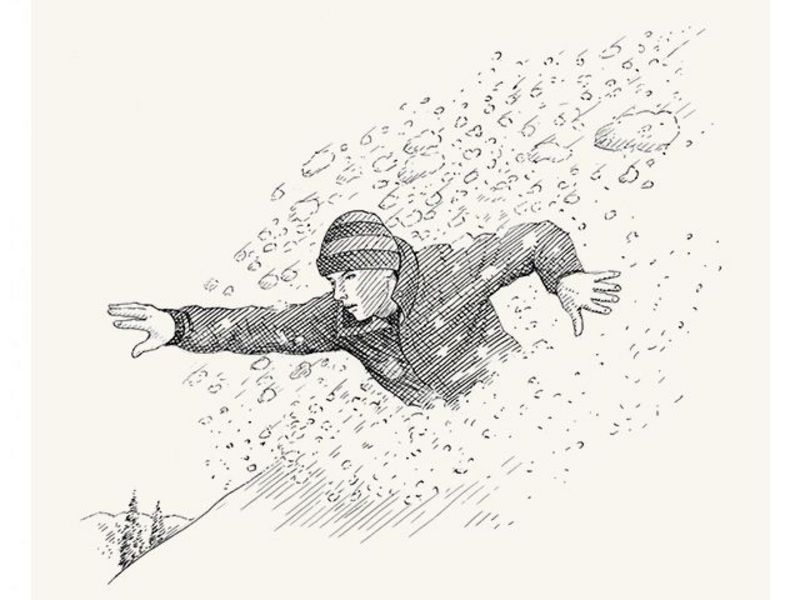
As the once-stable slope begins to slide with you on it, throw your weight uphill – the slab might slip beneath you. No? Try skiing or riding off the slab at a 45° angle. If knocked over, get rid of your skis, poles or snowboard quickly; at this stage they will cause more harm than good. If wearing an avalanche airbag (see offpistemag.com) trigger it, then fight to stay as high in the turbulent snow as possible. Try breaststroking. If slowing to a stop, clear an air space in front of your face and keep snow from your mouth. Thrust a hand toward the surface. Try to stay relaxed.
6. Time is ticking
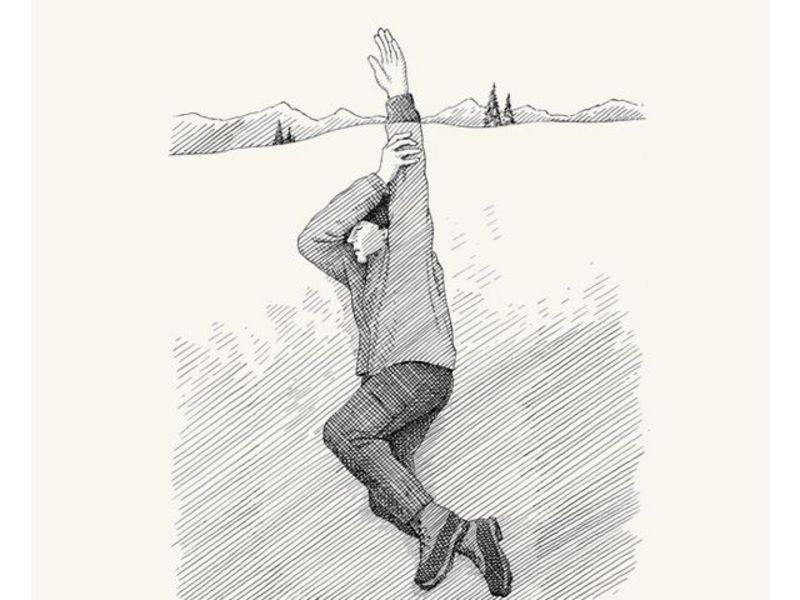
When an avalanche stops, the snow sets like concrete. If you’re deeply submerged there’s little chance of getting yourself out. If you are extricated within 15 minutes, there’s a greater than 90% chance you’ll survive. Your odds decrease rapidly after that. While attempting a winter traverse in Hokkaido, Japan, four friends and I holed up in a snow cave to escape a vicious storm – then the roof began to collapse. I’d crawled out into the maelstrom to shift snow from the entrance tunnel when the slope above avalanched. I was tumbled several hundred metres down the slope and thrust my hand out (as trained) just before the snow stopped. Ice packed my eyes and plugged my throat. With my last breath I was able to scrape the snow from my face and clear my throat. It took 20 more minutes to dig myself out.
7. Know thy friends
If you’re heading off in a group, make sure your back-country companions are at least as well-prepared as you. If you go down it’s up to them to save you. Does each one have a beacon, probe pole and shovel? Do they know how to use them? Take the time to check and if you’re not sure, practise recovery drills until you are.
FIVE COMMON MISTAKES
01 Ignoring advice
It’s been snowing heavily for three days, but has dawned sunny. The ski patrol advises against back-country travel until snowpack settles. But hey, what do they know?
02 Poor route choice
It’s been a long climb. You’ve stuck to the ridgeline linked by shallow, forested slopes. You spy a shortcut across a steep bowl below a corniced ridge. Perfect!
03 Solo mission
Fresh snow – bluebird conditions. Your friends are busy. It isn’t until you’re out of mobile range that you remember you’ve alerted no one of your plans. You continue on alone.
04 Changing conditions
Dry, fresh powder all morning, a west-facing slope and strong sun in the afternoon. The top layers of snow feel heavy, but should be ok for one more run.
05 Pack mentality
Studying steep slopes below, you’re not sure of the snow conditions. You don’t want to wimp out in front of your friends and there are some old tracks. Uneasily you push off on the ride of your life.
WHAT TO WEAR
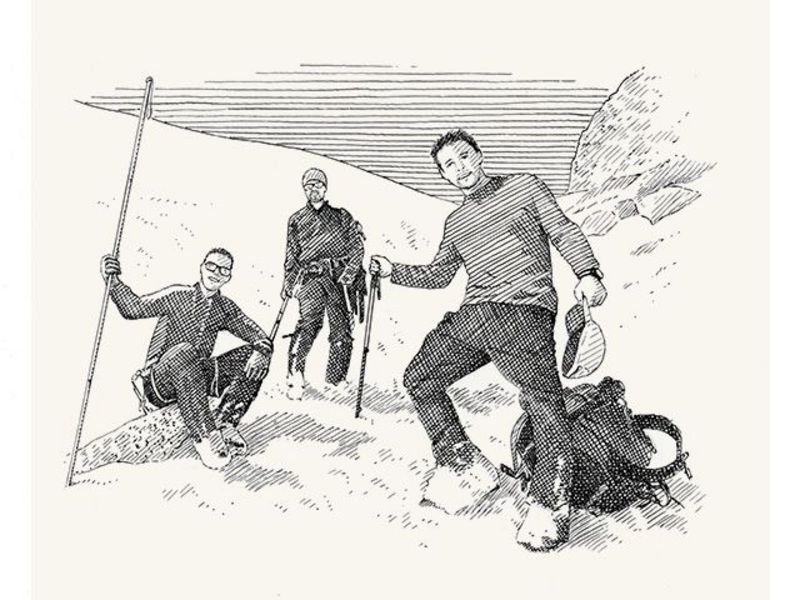
Illustrations by Mr Nick Hardcastle