THE JOURNAL

The MR PORTER guide to getting your tie dimple just right.
When I was a student, I was once invited to a gallery opening, which provided me with a rare opportunity to wear a jacket and tie. As I dressed, I took a moment to finesse my tie knot and proudly showed the resulting dimple to my girlfriend. She scoffed, and asked who cared about such things, but I was later vindicated when, at the gallery, an older woman complimented me on the fact that my tie bore a pleasing dimple. My affection for tie dimples, unlike my relationship with the girl, has persisted.
Before practical techniques are considered, it’s important to understand the philosophy of the tie dimple, which is that it should be a personal expression of artful imperfection. It is, for men hoping to project an image of sprezzatura, a useful weapon in the sartorial armoury. Sprezzatura implies an element of artifice, which is why it’s something that must be internalised so that it loses the sharp corners of deceit and becomes second nature. A tie dimple should be created with a natural carelessness, even while the decision to create one is deliberate.
01.

Relax and breathe, because a nonchalant dimple cannot be achieved if you’re stressed. We’re going to tie a four-in-hand knot, but the creation of a dimple remains the same whatever kind of knot you choose. Here goes.
Put the tie around your neck so that the front blade hangs down on your left side, and is a bit longer than the back blade (left handers may want to reverse this and further left-right instructions). Some people, whose opinions count, like to place the tie and then fold down the collar before they fasten the top button.
Try these
02.

Lay the front blade over the back blade, and then, gripping the tie with your left hand so that your thumb is against the back of the back blade, and your first finger ends up between the two layers of the front blade, wrap it once around the back blade. Bring the front blade up behind the knot and flick it over the top.
03.
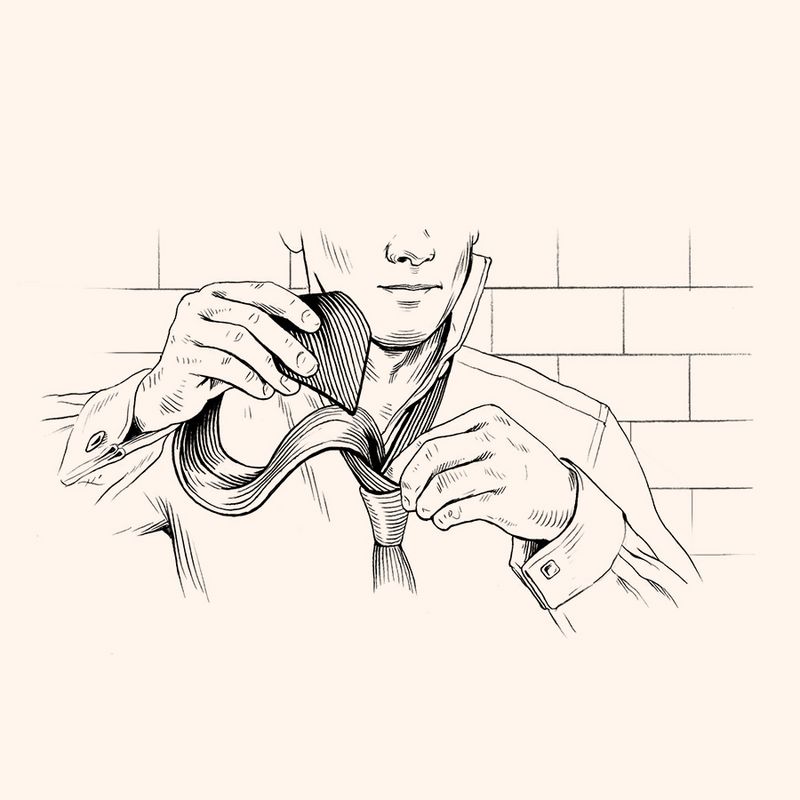
Stuff it down the gap that your first finger is keeping open. How tight you pull the knot will affect the shape of the dimple. If you pinch either side of the front blade as you pull it down through the knot, you’ll end up with a dimple in or near the middle. As you slide the knot up into the collar gap, push the first finger of your left hand into the knot, where it meets the front blade. You should now have a tie dimple.
Try these
04.
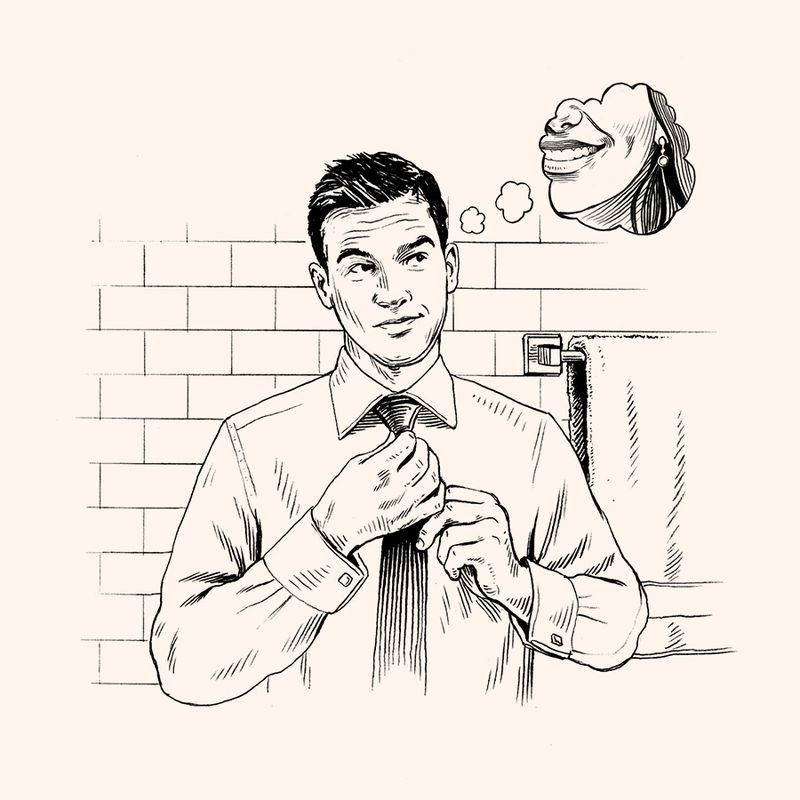
While you may want to fiddle with the dimple, please do this quickly and, ideally, while thinking about something else. A good dimple should exude nonchalance. Something that looks too “done” sets the wrong tone.
Check that you’re happy with the relative lengths of the two blades. I think it’s best if the front blade doesn’t extend beyond the waistband of your trousers. I also like the two lengths to be different, which often means the rear blade is slightly longer than the front blade. This, astonishingly, upsets some people, but none, I feel, whose distress need concern us.
05.

Try pulling the rear blade around towards the front so that it becomes more visible. How far you take this depends, as ever, on what pleases your eye, and where you’re going. What’s right for a drinks party may not be appropriate for a board meeting.
Try these
The wrong width
Common mistakes
The narrower a tie, the harder it is to create a dimple. It’s a real challenge to get a dimple into a tie that’s only 6cm wide.
The wrong material
Very light cotton ties may be too soft to hold a dimple because they simply crease or fold, and lightweight knitted ties will produce different dimples from thick cashmere or silk ties.
The wrong knot
The chunky and aggressive Windsor knot is almost always the wrong knot, but it’s particularly incompatible with the nonchalant mood conjured by an elegant dimple.
Trying too hard
The dimple is a stylised imperfection, and needs to look like a happy accident. Finessing it with all the intensity of an origami master suffering from OCD will not produce the result you’re looking for. Eye-catching symmetry is a no-no.
The wrong design
The world’s most elegant knot will be wasted on an ugly tie. Invest in a great tie, and then perfect the knot.
The wrong implement
Use your finger to create a dimple. Do not use a ridiculous dimple maker (yes, they exist). Imagine having to explain to a woman that you use a contraption to make your tie dimples.
Using the keeper
Lots of ties have a loop of fabric behind the front blade through which you can tuck the rear blade. This is called the keeper, because it keeps the tie neat and straight and ensures the rear blade is invisible. I find the use of the keeper unappealingly stiff, and the look inert. Style isn’t something that can be arranged and then pinned down like a dead butterfly – movement is a vital part of it.
Illustrations by Mr Joe McKendry